Linux for Chess Part 1 - How to install Debian 11
- Darius
- Jun 18, 2022
- 6 min read
Updated: Dec 11, 2023
This is the first part of the course where I will introduce the installation of Debian 11.
It will be installed on a computer based on a popular architecture: AMD64.
The course is aimed at beginners. The content includes a lot of details and is written so that everyone is able to install Debian 11 on the computer.

The full name of the system: Debian GNU/Linux 11 (bullseye).
Website: debian.org
Below, in the first section of this course, you will learn how to properly download the installer.
However, if you are interested in purchasing pre-prepared installation media or a computer that already has Debian installed, you will find the information you need here: https://www.debian.org/distrib/index.en.html
1. Downloading the Debian 11 installer file.
To download the installer, go to the Debian website: https://www.debian.org
Once at the Debian site, click on the Download button to the right.

After clicking on the link marked with a red border: debian-11.3.0-amd64-netinst.iso
the installer will download.

Debian 11 can be installed on many different architectures and in many different ways.
To simplify the installation process of this system, the creators of Debian 11 have provided the so-called netinst, which is an installer of a small size that will download all required and latest programs at runtime. We will use this installer in this part of the course.
IMPORTANT!
Depending on the computer on which you want to install Debian 11, you will need to choose a suitable installer.
In this case, I chose an installer suitable for the AMD64 architecture, one of the most common, which is for computers based on 64-bit AMD and Intel processors, among others.
If you:
need an installer for a different architecture, such as ARM64
or you have a computer with a 32-bit processor
or your Internet access is not fast and you would like to install everything from a USB stick or CD/DVD
etc.
Then go to this page: https://www.debian.org/distrib/index.en.html to download the appropriate installer.
2. Preparing the Debian 11 installer.
To install Debian 11 from the downloaded installer, which comes as an .ISO image, you need to burn it to a USB flash drive or a CD / DVD.
If you are going to install Debian in a virtual machine, then the modern software you use (e.g. Parallels Desktop, Virtual Box, Vmware, etc.) can use the downloaded .ISO installer without additional operations.
Depending on the system you are using, prepare a Debian 11 installation media with the help of these guides:
Usually, preparing the installation medium is a simple operation.
For example, on recent versions of Windows, this can be done natively by right-clicking the ISO and selecting "Burn image to disk (or similar)".
If you have questions that are not answered in this part of course, I suggest you visit: https://www.debian.org/CD/faq/index.en.html
3. Installing Debian 11.
Launch the installer.
The welcome screen should appear.

If you see it - congratulations!
We start installing your new Debian 11 system :)
Use the arrow keys on your keyboard to select: Graphical install and press the Enter key.
A window will be shown in which you should select the language that will be used during installation and will be the default language when Debian is installed.

Installing Debian 11, which is a modern operating system, is not difficult.
The installer is designed in such a way that even a novice user should be able to cope, as all the most important installation parameters will be automatically prepared during the process.
The installer window at the top tells you the current installation parameter.
You can control the installation process using the keyboard and mouse cursor.
Select a language and then click Continue.
Now you need to select your physical location.
Once you have made your selection, always move on by clicking Continue.

Darius, the author of this course lives in Europe.

In Poland.

In the next step, select local settings...

...And keymap to use.

Good. We have selected the basic parameters of the installation.
After clicking Continue, the installer will begin to check the installation media.

And it will automatically configure the available network connection.

Specify the hostname of the available network.

Optionally, you may - but do not have to - provide a domain name. I have not entered anything here.

Now it's time to configure important accounts.
You may not enter anything in the screen below. This will cause that already after installing the system, when you need administrator privileges, you will get them after using sudo command in terminal.

In the next window you can enter the full name of your account.

Now enter the user name of your account.

Enter the password for your account.

Now it's time to allocate storage space for your Debian 11 installation.
... This is just so "scary to read", but thanks to the automatic configuration by the installer, it usually comes down to approving the proposed configuration.
I suggest you dedicate an entire disk to a Debian installation. This way you will avoid having to do any manual configuration.
Of course, if you have the knowledge and know what to do, the installer gives you the option to enter the partitioning parameters manually.

In the next step, the installer shows you the disk whose contents will be deleted before the Debian installation process. If you want to correct something, you can do so by clicking on the Go Back button.
If you agree to proceed with the process, then click Continue.

I suggest you choose the first and selected option from the top.

In the next step I also suggest to accept the installer's proposal and choose the first selected option: Finish partitioning and write changes to disk.

In the last partitioning step, if you are approving the previously selected parameters, then select Yes and click on Continue.

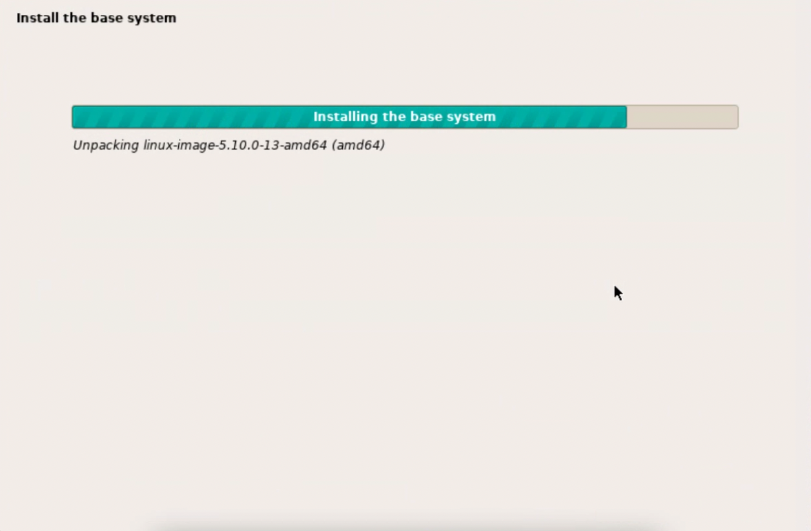
After a short while, partitioning will be complete and the key components of Debian 11 will be installed.

In the next window, the installer will ask if you want to scan other installation media to get components for the installation.
If you are using the same installer I chose, which is debian-11.3.0-amd64-netinst.iso, there is no need to do this. You can select No and click Continue.

Debian is a popular system, and the software is available for download around the world. Please choose a location near you.

In the next window, based on your previous selection, the installer will offer you the fastest archive mirror from which it will download the software.

If you use a proxy, you can enter the appropriate data.
I do not use a proxy, so I have not entered anything here.

The installer downloads the next key and latest components for your system.

You can participate in an anonymous program to share data about your use of Debian 11 software packages. I marked Yes because I feel it is important to support Debian developers who can create even better software using this data.

In the next step, you can select some key system components that will be installed next.
In the second and third parts of this course we will be working with GNOME (a graphical user environment), so it is a good idea to choose GNOME at this point .
If you are a novice user, then I suggest you make a selection like the one shown below in the image.

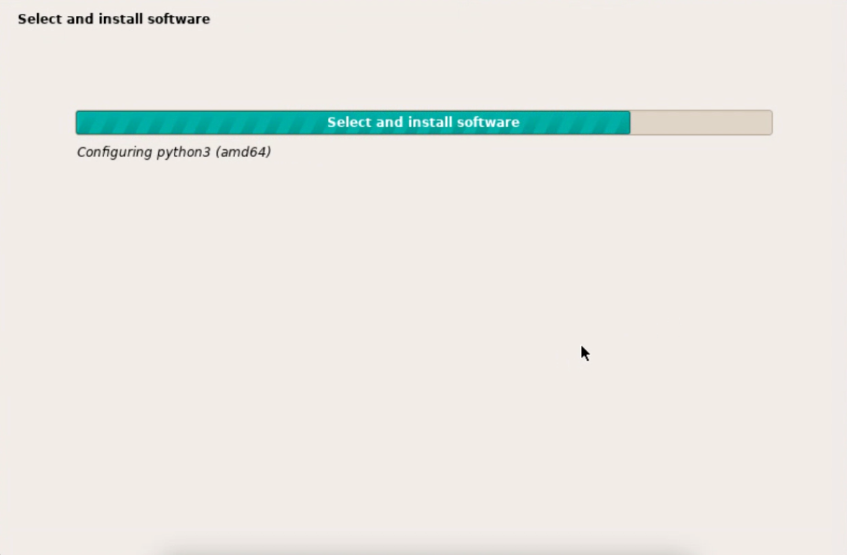
After selecting the components and clicking Continue, the remaining Debian 11 components will be downloaded and installed.
This is the longest installation step for this system. On my eight year old computer it took about 5 minutes. That's not a long time, is it ?

In the next step you should accept the installer's proposal (Yes) and click Continue.

In the next step (we are almost done), please select /dev/sda and click Continue.

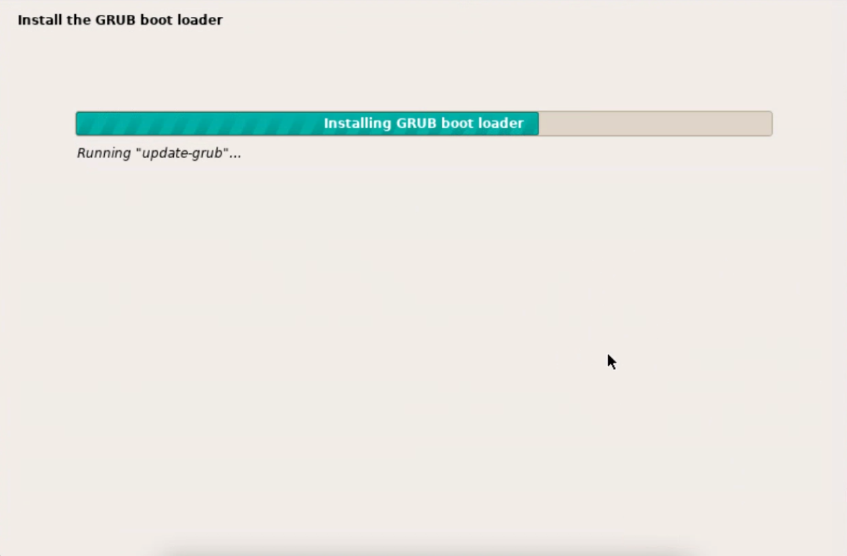
After a few seconds, the boot loader will be installed.

And the last operations to install Debian 11 will be completed.

Congratulations!

Before starting Debian 11 for the first time, follow the installer's advice and remove the installation media.
Clicking Continue will close the installer and launch the new Debian 11 system for the first time.
You have just installed Debian 11 :)
4. First time starting Debian 11.
On the start screen, we see two choices. You do not need to do anything. After 5 seconds the boot loader will boot the system.

For the next few seconds, messages will appear on the screen - this is OK.

Finally, we will see the login screen.

After clicking on the user's name and entering the password (the same one you entered during the installation), the first login of the user (that is you) to the Debian 11 system will take place.

You will be greeted by a neat, clean, and minimalistic system design.
In the next part of the course: Linux for Chess Part 2 - Debian 11 customization, we will prepare and adapt Debian 11 for convenient installation of modern chess software and its use.
This is the end of the course:
Linux for Chess Part 1 - How to install Debian 11
I invite you to choose the next course :-))

Comments